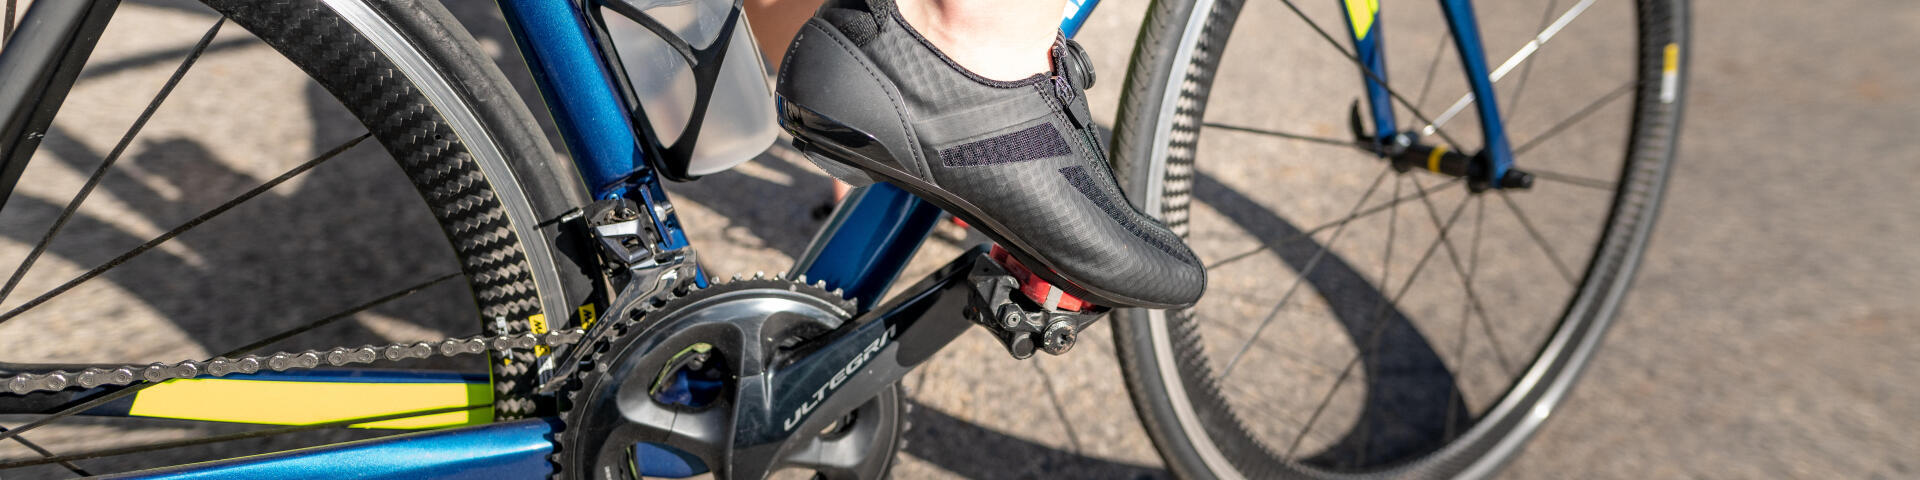
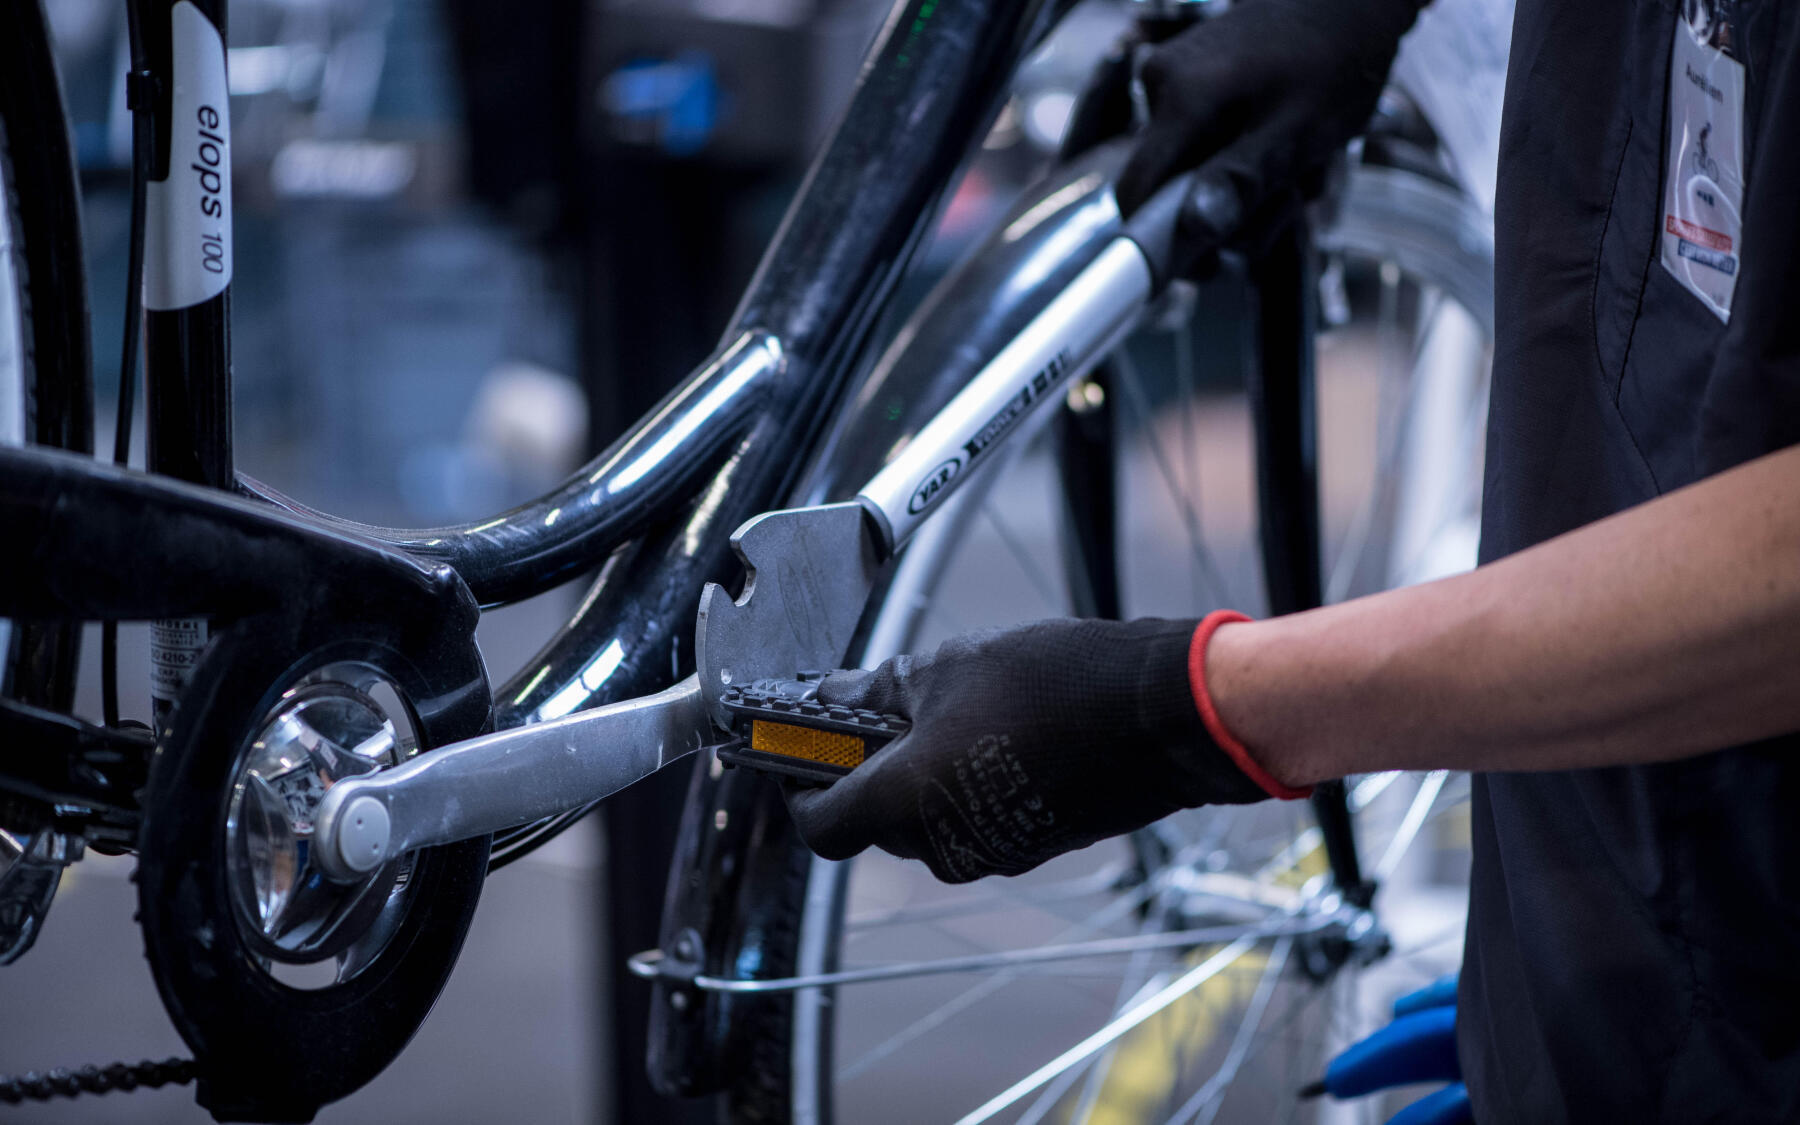
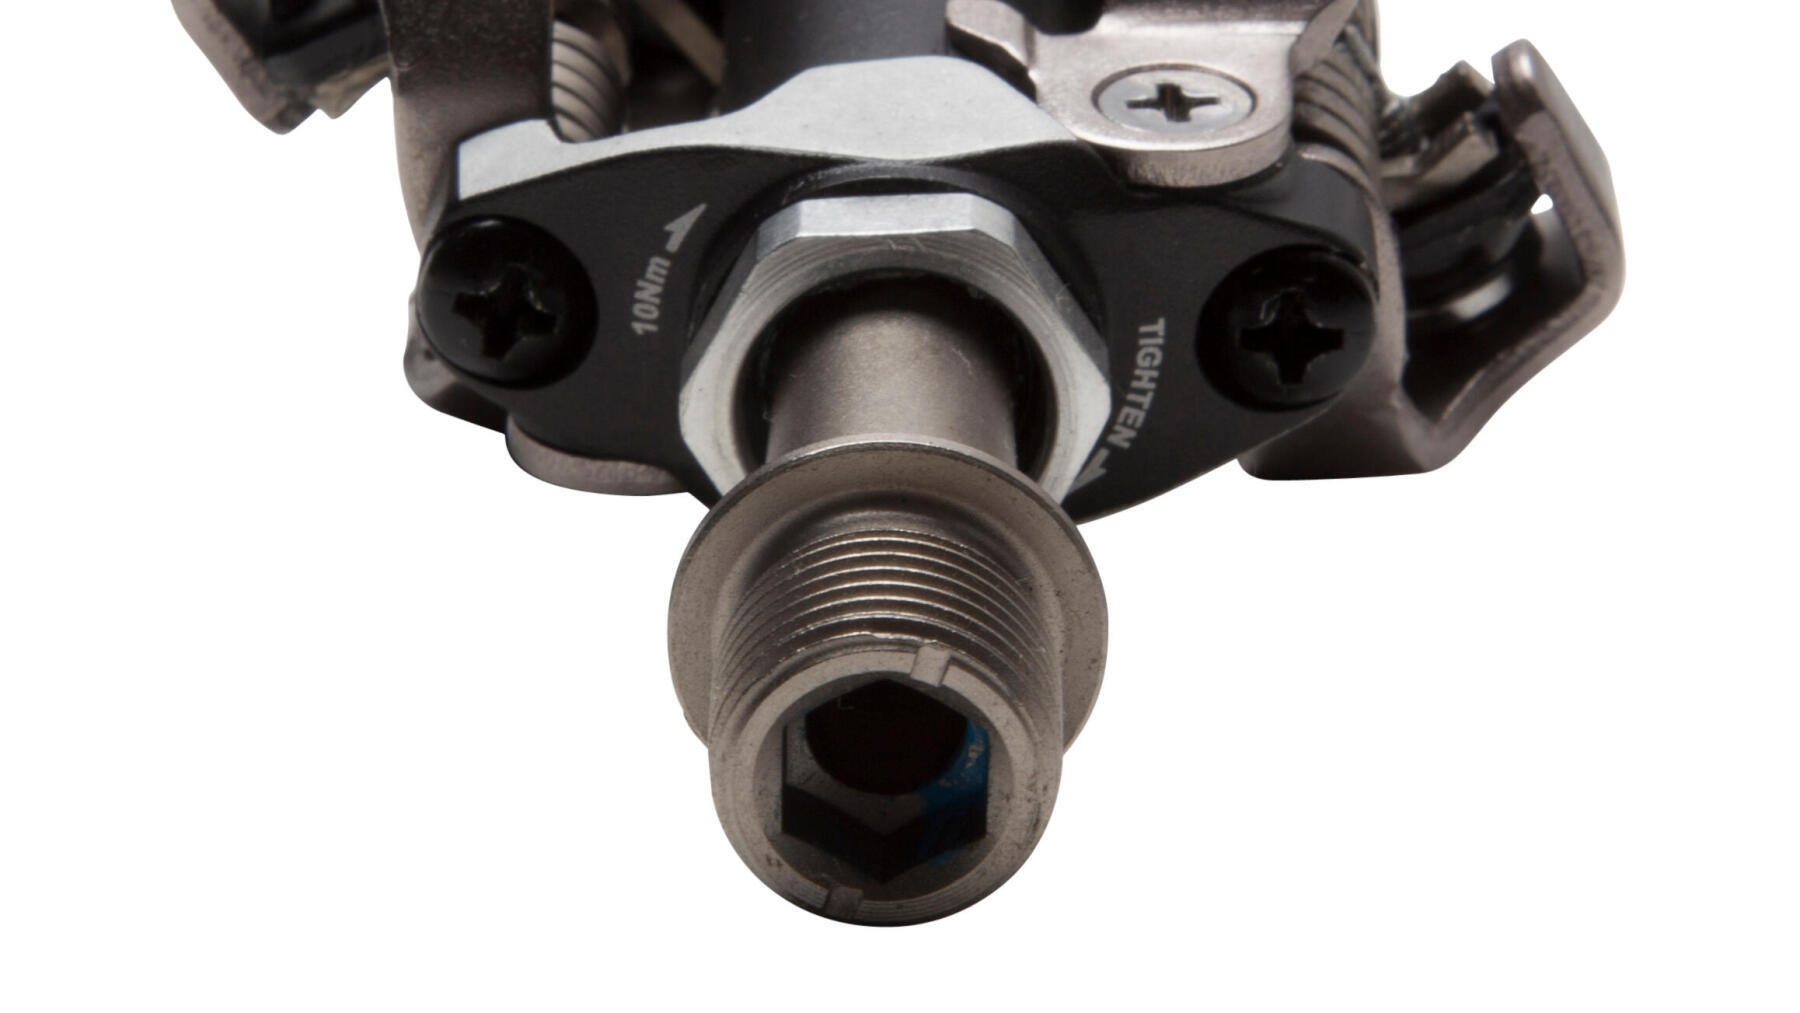
It's a lot easier and more fun than you might think!
Bike maintenance is a simple task you can do by yourself at home with some simple equipment & accessories.
In this series of bike maintenance articles, we share various tips with you to change your bicycle pedals. Read on!
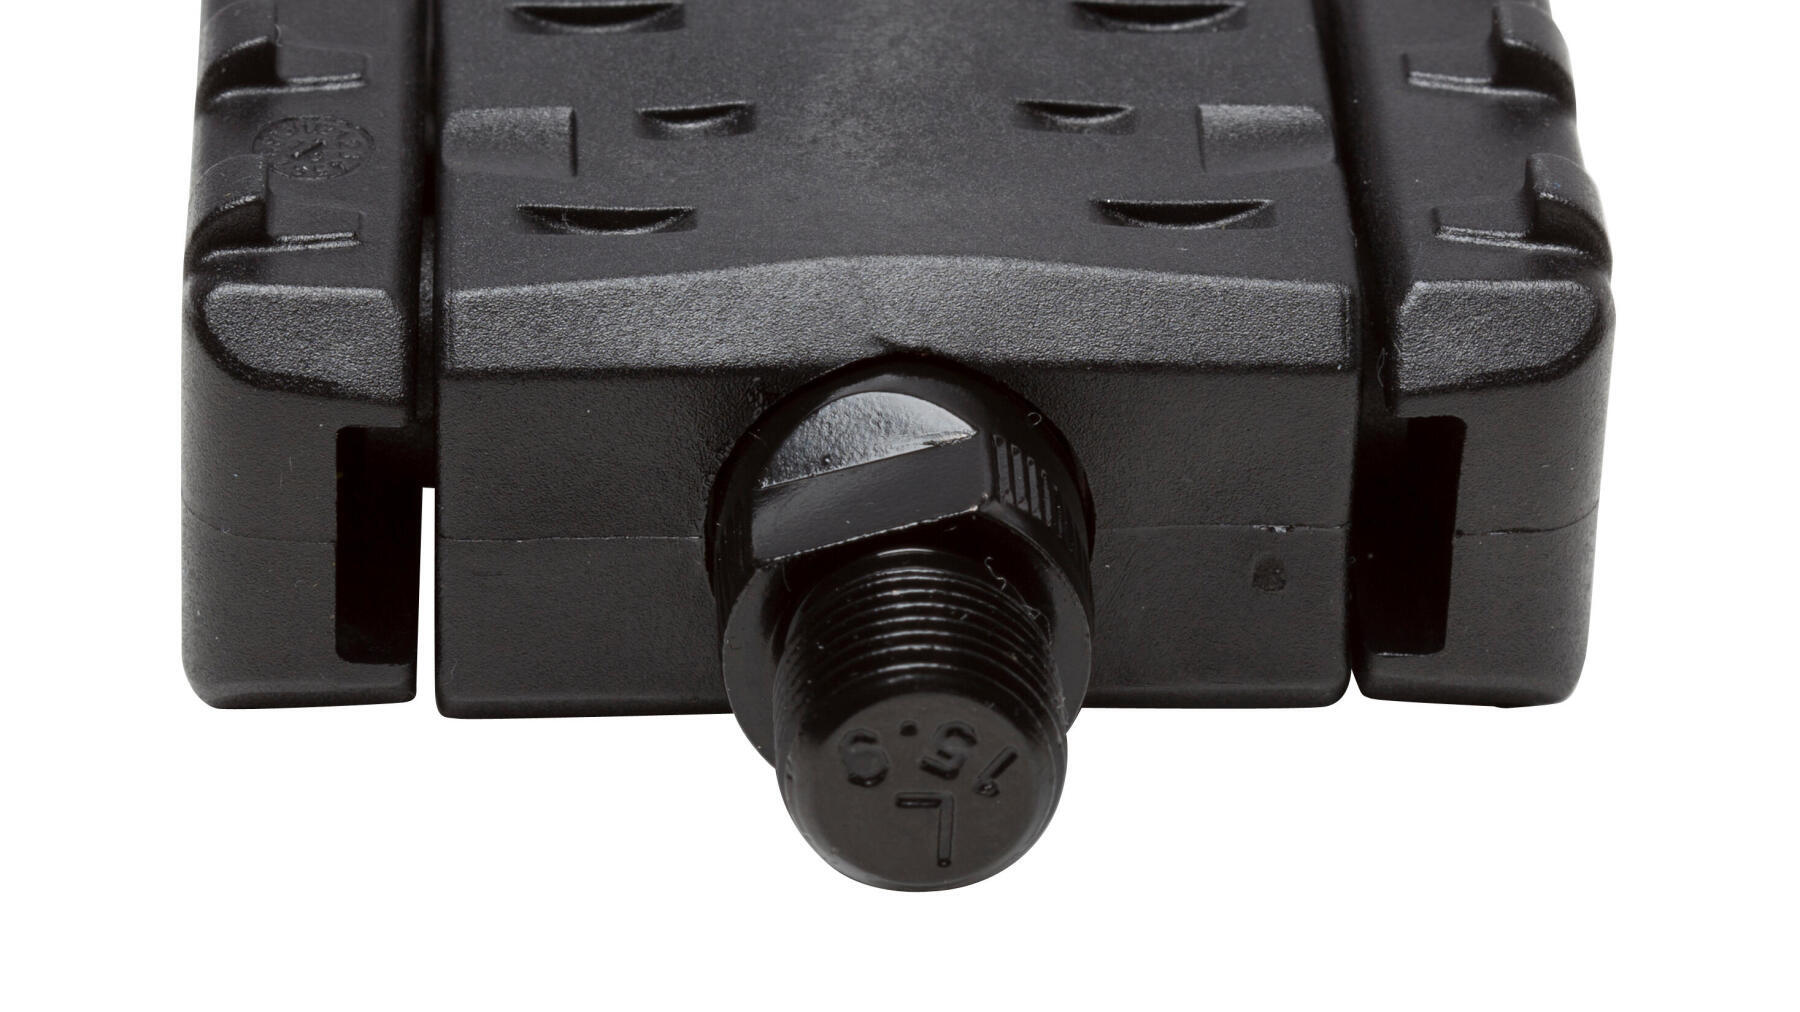
There are many reasons to change a pair of pedals. The first is wear and tear. It is quicker for plastic pedals to be worn out if you cycle a lot or your bike is old. For metal pedals, the pins may wear out due to knocks or regular usage.
Note that if there is play and you are no longer pedaling properly, check that the problem is with the pedals, not the cranks or the bottom bracket.
There are also other reasons why you would want to change your pedals: to make it lighter, wider, narrower or to change it to another colour. Let us show you how to change your own pedals at home with our step-by-step guide below!
Difficulty: Easy Duration: Less than 10 minutes
Before starting, lets check out the equipment and accessories we will need to perform this task.
1. Pedal wrench. Its also possible to use a 15mm spanner.
OR
2. 6mm or 8mm Allen wrench (also known as a hex key)
3. Lithium grease in paste form (usually available in tubs or squeeze tubes)
4. Paper towel to wipe excess grease and dirt (alternatively, use cloth rags if you're environmentally conscious)
- Take a pedal wrench (or an adjustable wrench)
- Make sure it is thin enough to position itself on the base of the pedal, without rubbing the crank
- For the right pedal, loosen it in an anti-clockwise direction
- For the left pedal, loosen it clockwise (the direction is reversed so that the pedal does not loosen on its own while pedalling)
- Look out for an “R” and “L” stamped or printed on the pedal’s spindle and place it on the correct side of the bike
- Do not forget to put thick grease on the axles of the pedals to facilitate assembly and disassembly
- Pay attention to the direction of the tightening of the left pedal (which is reversed)
- Do not apply excessive force as it risks damaging the mechanism when tightening the pedals
- Take an 8mm Allen key (or a 6mm depending on the size of the axle)
- Loosen the base of the pedal which is located at the crank (To do this, loosen this base by the inner side of the crank)
- To loosen, turn clockwise for the right pedal.
- To loosen the left pedal, turn counter-clockwise (the direction is reversed so that the pedal does not loosen by itself when pedalling.)
- Be careful not to misplace the small washer that protects the crank when removing the pedals (do note that some pedals don't come together with the washers)
- To put the new pair of pedals, tighten each of the pedals with the Allen key but reverse the direction used when taking them off
- Do not forget to put thick grease on the axles of the pedals to facilitate assembly and disassembly
- Remember that the direction is reversed, and don't forget to put back the two small washers (if applicable)
And that wraps up the second part of our series on bike maintenance. We hope you found this article useful, and stay tuned for the next part!