How to choose your hiking poles ?

How to choose your hiking pole?

Read on to find out the criteria needed to determine which hiking pole is most suited for you!

Going on a hike soon? You can't embark without a hiking pole or two.

They serve as extra pairs of "legs" that will greatly help you on your ascend and descend, especially on tricky terrains.

Discover the 7 main things to look out for before purchasing the right hiking pole for you.

1. Weight

This is a key criterion. The lighter your pole, the easier it will be to handle and the less energy you'll use. Its weight depends on what it is made of. 

For occasional and regular hikers, an aluminium pole will be enough. 

For more intensive hikes or if you prefer a more rigid, lightweight pole, you should opt for carbon.

1. Weight

2. Number of sections

The sections are the parts that make up the pole. The more sections it has, the more compact it is once collapsed.

Generally speaking, you can choose between two or three sections.

Choose your pole according to the collapsed length (rather than number of sections) for storage purposes.

For long-distance hikes where you'll need to secure your poles to your backpack (i.e.when climbing ladders), you're better off getting 3-section poles.

3. Adjustment system

It is absolutely important to ensure your pole is adapted to your height and the terrain you are hiking on. 

There are two adjustment systems: 

Firstly, external clips. They work quickly and easily. They are also very safe since you can easily check whether your pole has been properly secured. 

Secondly, internal screws. These are rather harder to get used to, although they are more lightweight. 

You may tend to want to screw the poles up really tight to be sure they don't come loose. However, you must not screw them too tightly (using tools for example), otherwise you may not be able to unscrew them afterward.

How to choose your hiking poles ?

4. Handle 

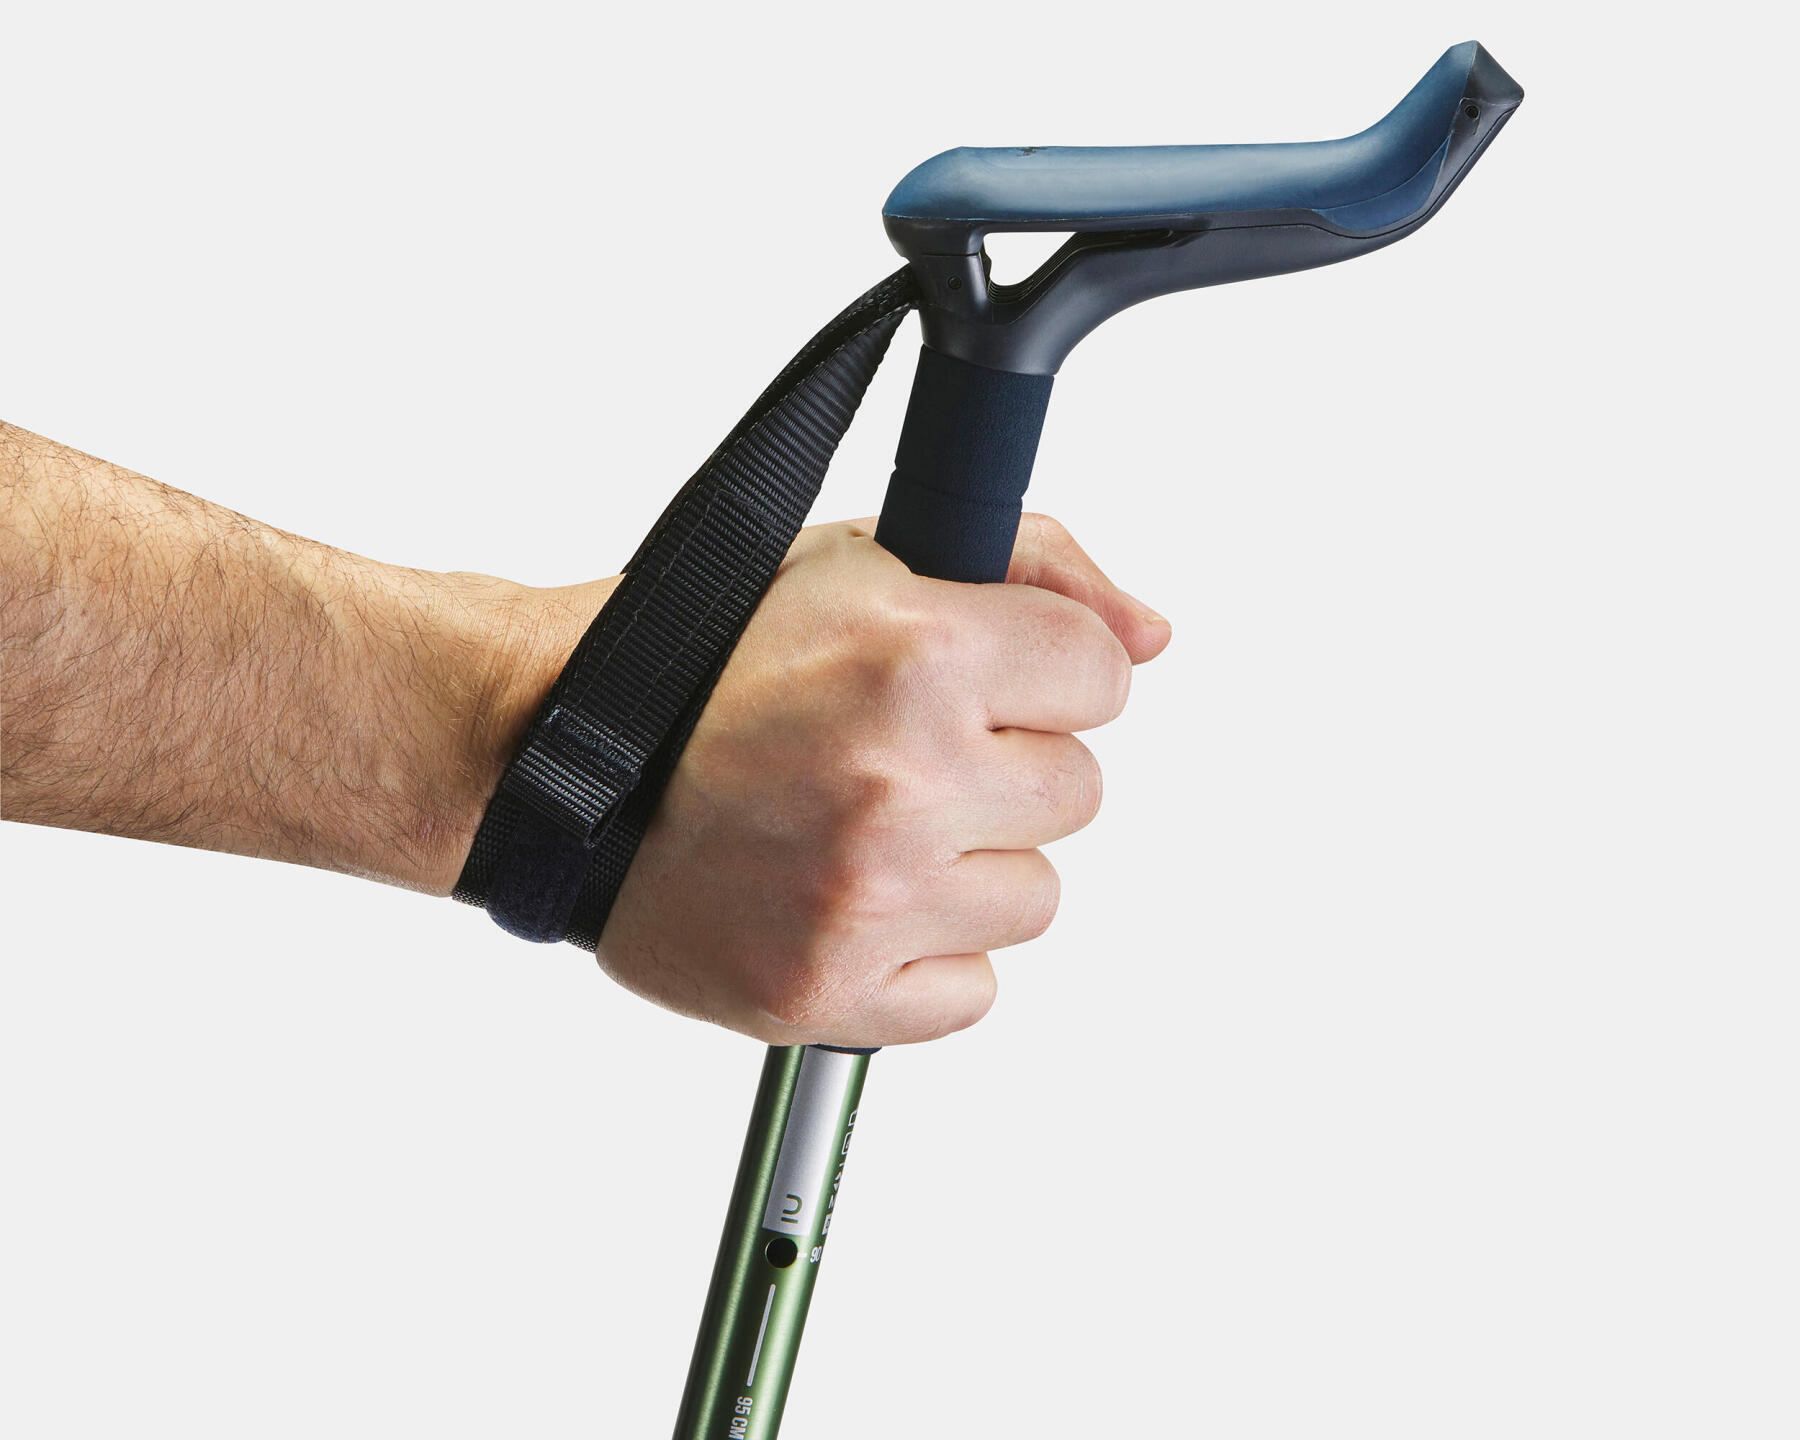
Firstly, take a look at the material used to make the handle. Plastic is a good bargain and is very rigid. It is fine for occasional to regular use, being fairly heavy and providing less than optimum comfort if your hands get sweaty. 

Foam is softer, just the same as cork. These are suitable materials if you hike regularly or intensively. Foam handles also absorb moisture better and ensure a good grip especially for those with sweaty hands. You do need to be careful about where you store them.

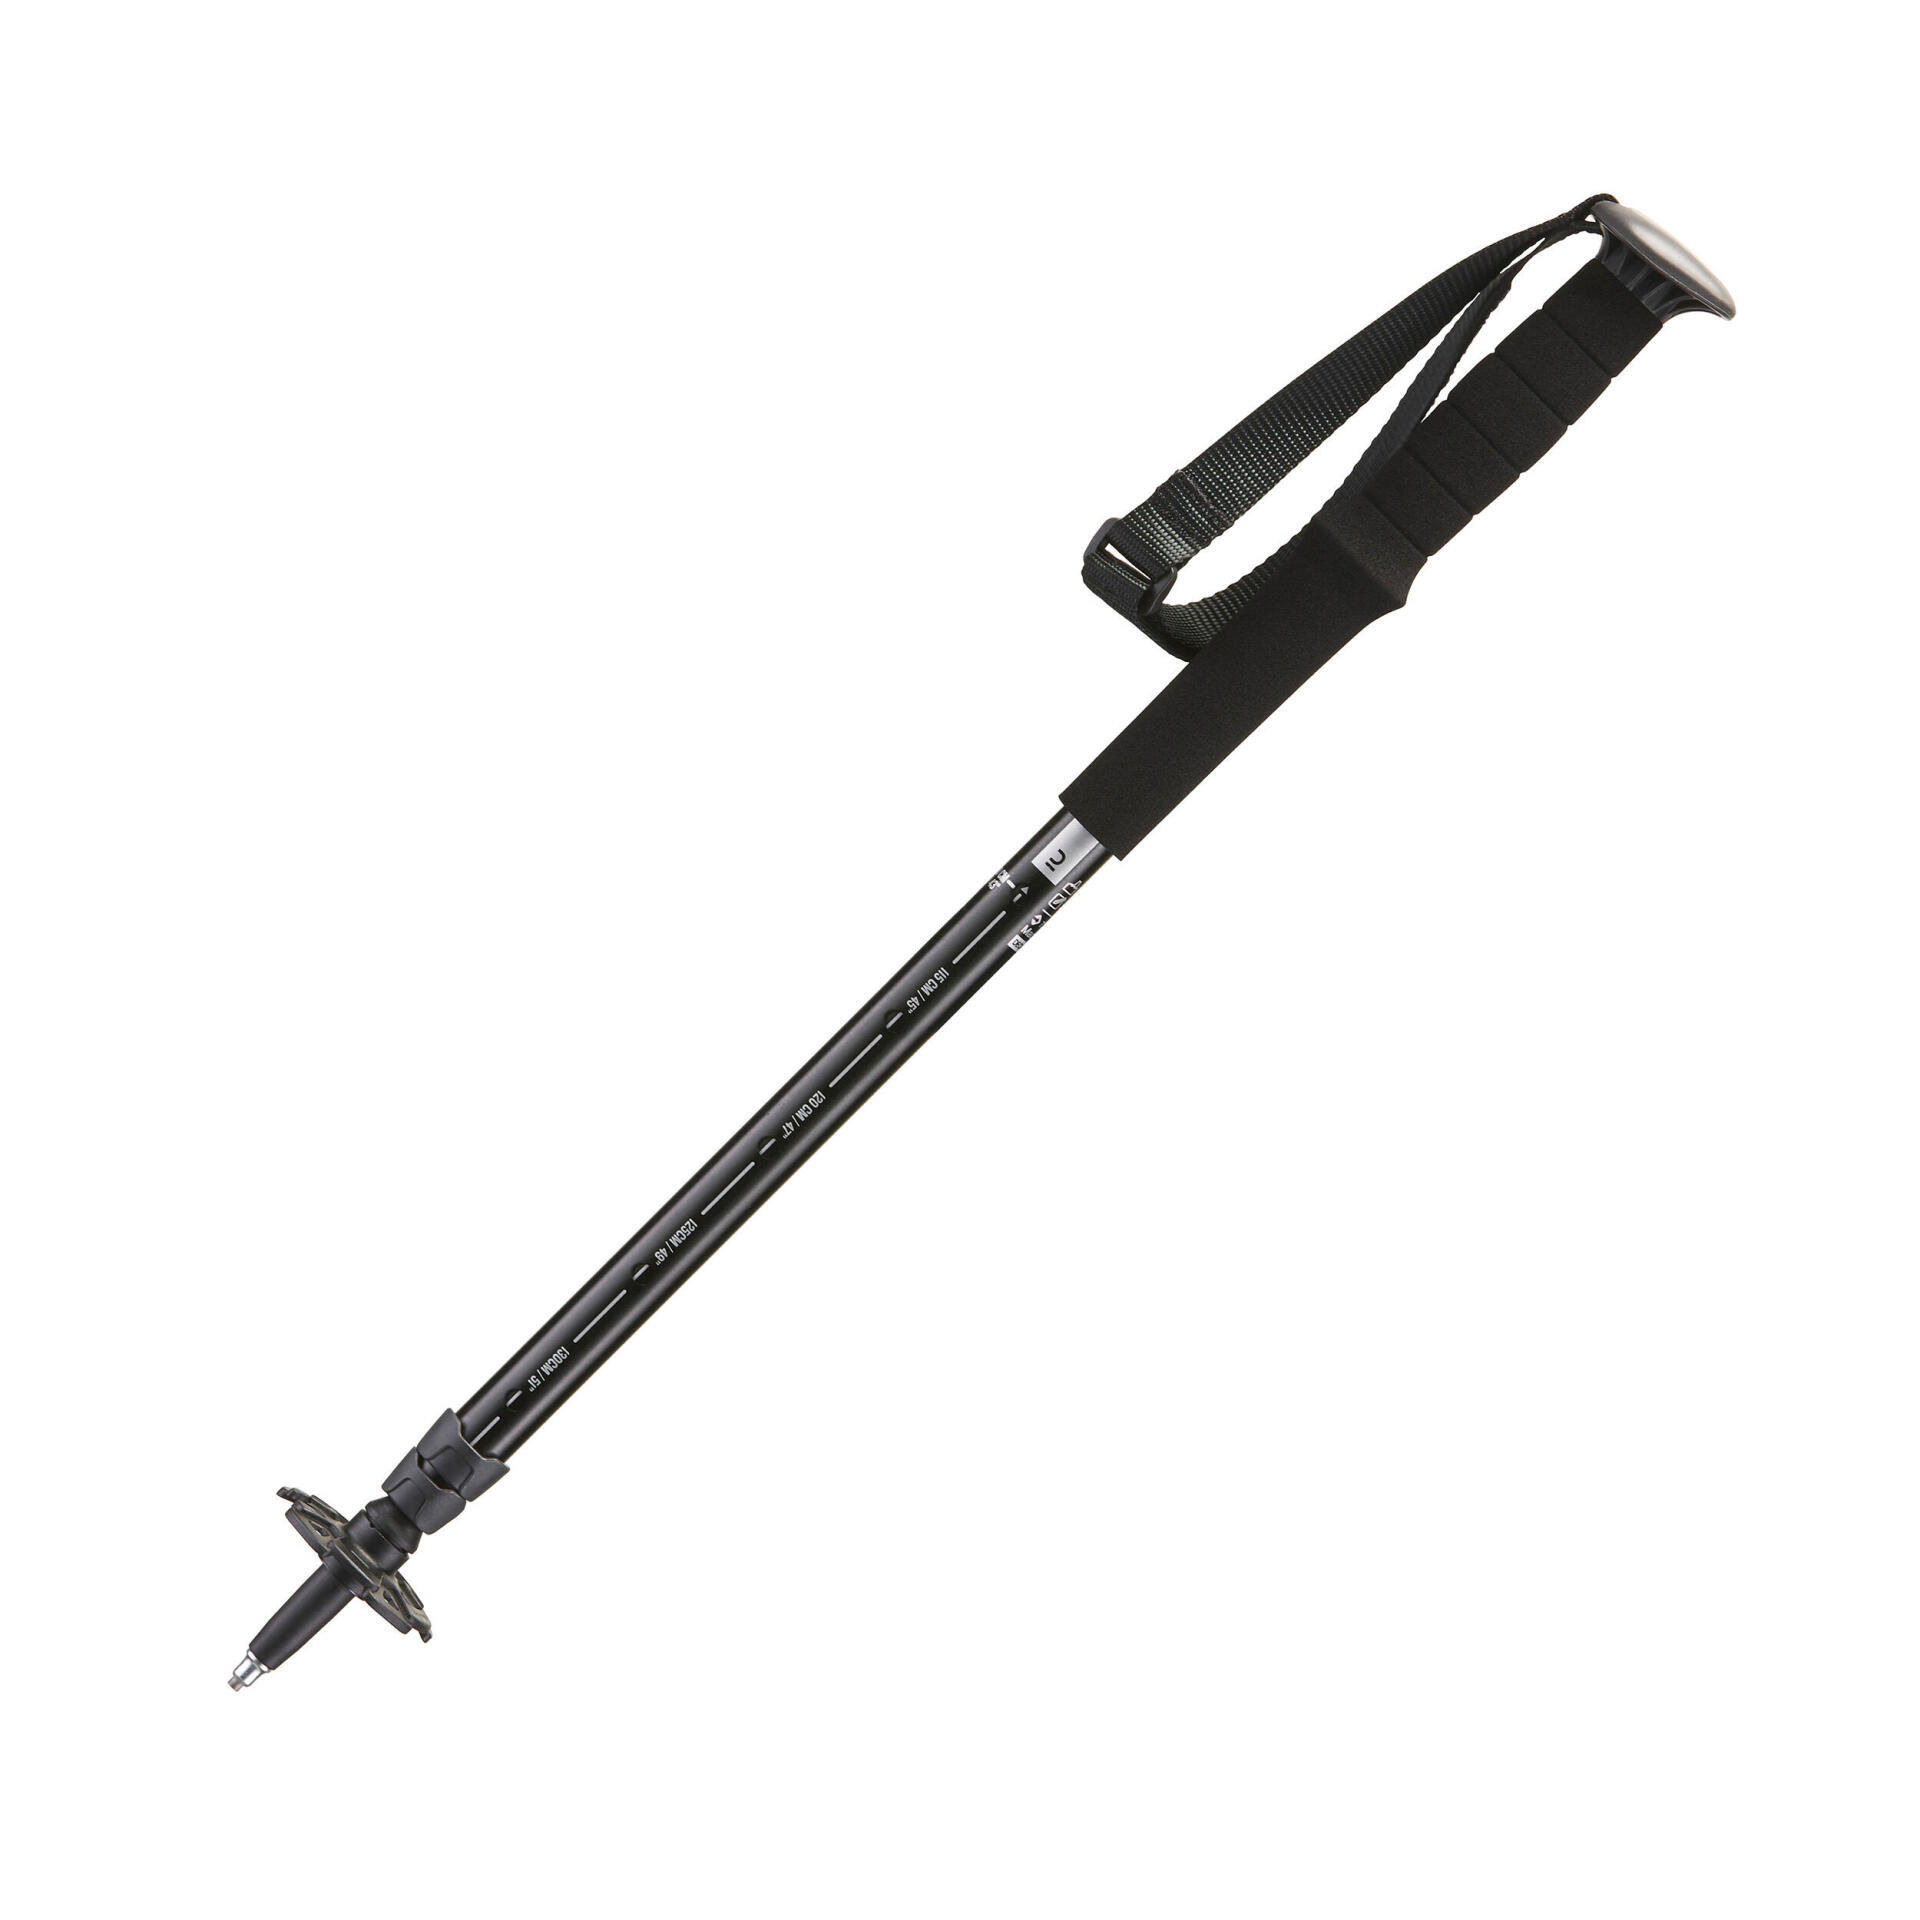
Handle shape is another factor that affects your comfort. There are straight, fairly smooth models, and other more ergonomic ones moulded to a hand shape to ensure a better grip.

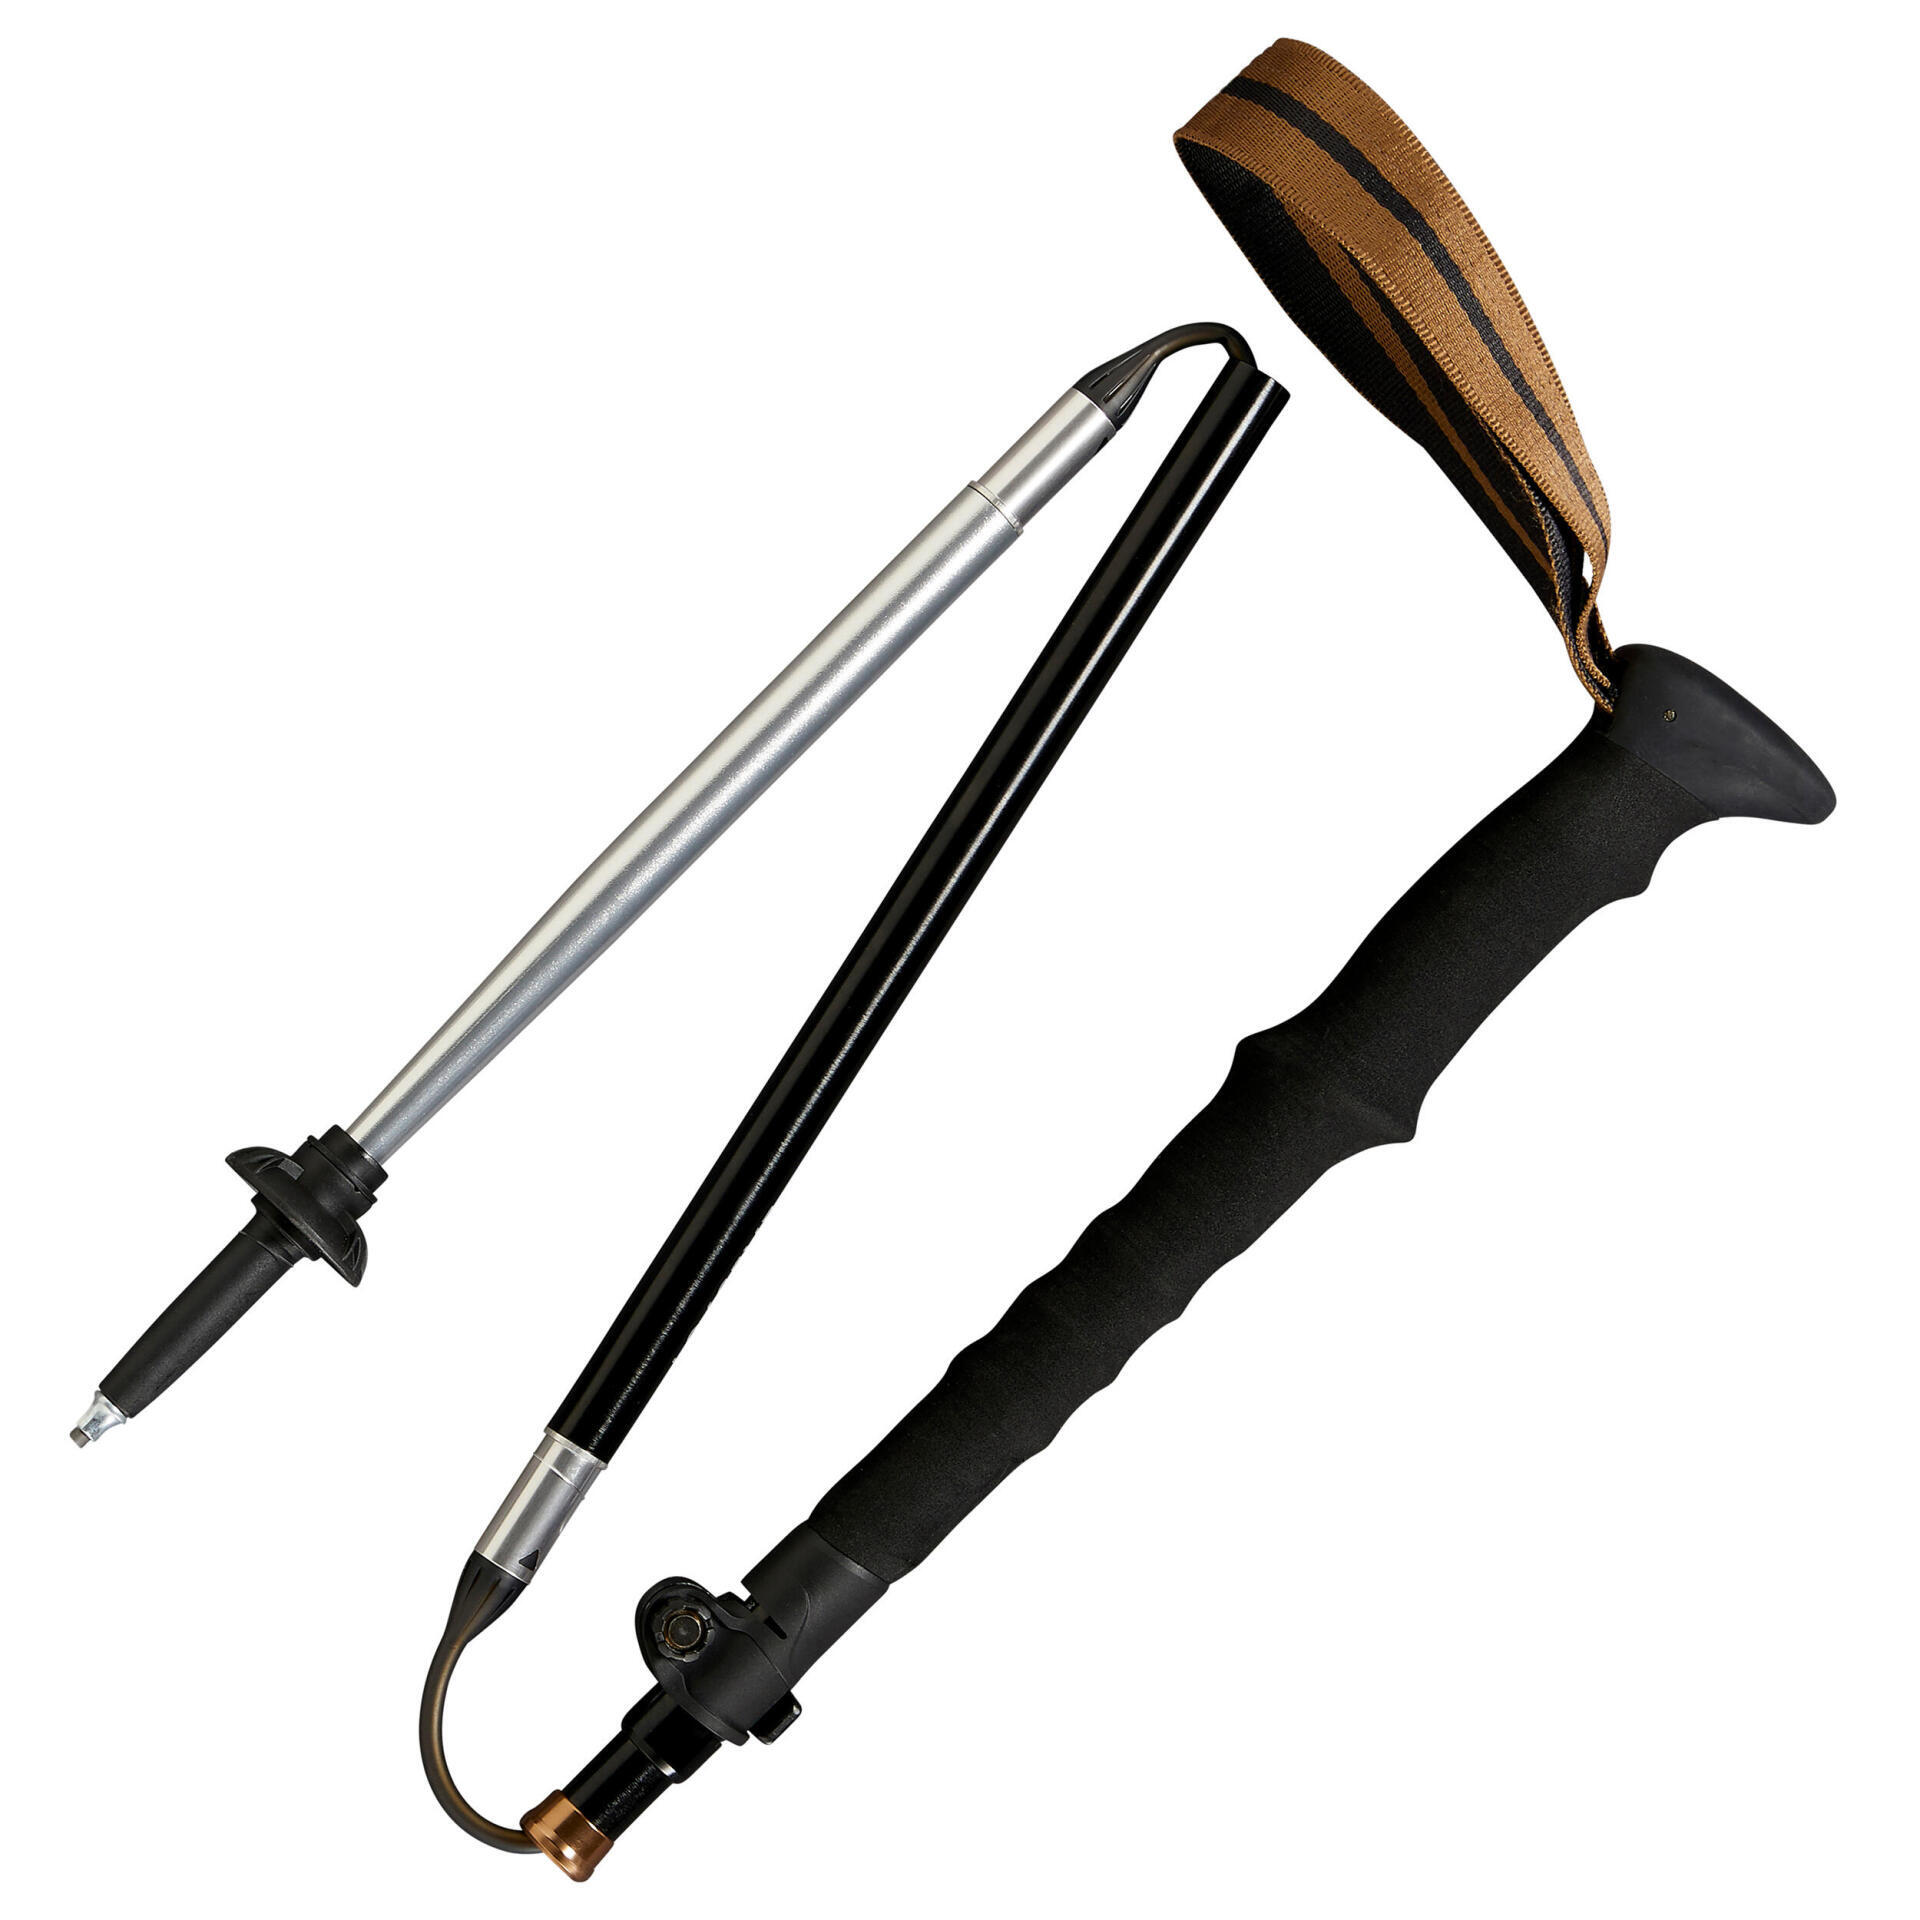
Lastly, you'll see that some poles have been fitted with grips, just beneath the main handle, making it longer. This means you can vary your hand position, which is especially useful on slopes.

How to choose your hiking poles ?

5. Wrist loops

Wrist loops serve two purposes:

Firstly, they prevent you from losing your poles or having to put them down every time you reach for your water bottle or camera.

Secondly, they provide dynamic support to help you use your poles properly. This results in less fatigue and relieves your hands.

Some models have padded wrist loops, again with improved comfort in mind. As for wrist loop width: the wider the loop, the more support it provides.

Some medium- and top-of-the-range models feature a clipping system to adjust wrist loop size in a jiffy. This is much quicker and easier than standard buckles.

6. Pole tips

There are two materials on the market for now: steel tip, for a sturdy entry-level item but which gets worn quickly, and tungsten (a type of mineral) tip which is sturdier and lasts longer. 

In other words, you'll need to choose your pole tip depending on how intensively you'll be hiking and the type of terrain you'll be hiking on.

How to Choose Your Hiking Pole: 7 Things to Look Out For

7. Baskets

Hiking pole baskets are located right before the tip of the pole. The right basket depends on the season. 

For summer hiking over grass, dirt tracks, rocks and pebbles, you'll need a small one. Come winter, you'll prefer a bigger basket to avoid sinking in soft terrain like fresh snow for example. 

Baskets are interchangeable, so you can keep the same poles for summer and winter. We do not recommend large baskets in the summer because they can catch in pebbles and cause falls.

We hope you found this article useful in determining the right hiking pole for you.

Happy hiking!

How to Choose Your Hiking Pole: 7 Things to Look Out For

Written by: Odelia Chan

Hiking Digital Sports Leader, Decathlon Singapore

Life's short, hike on!

Articles you might like:

11_top_tips_for_hiking_in_winter

10 Top Tips for Hiking in Winter Time

Ever wondered what you need to look out for when you are going for a winter hike? Check out our top 10 tips for winter hiking!

5 Ways To Be Hiking Ready

5 Ways To Be Hiking Ready

It's challenging to prepare for a hike if you don't know where you are going or what to expect on the trail. Here are some tips from us to ensure you're prepared for your hike always!